Repair: Minolta MD Rokkor-X 50mm f/1.4
This article documents the process of disassembling a Minolta MD Rokkor-X 50mm f/1.4. Other versions of this lens might require a different operation.
This lens is constructed similarly to the Minolta MD Rokkor-X 45mm f/2. You may find the repair article for that lens useful.
You may find it useful for cleaning the internal surfaces of the lens, but I will only demonstrate accessing the surfaces adjacent to the aperture. The elements in the front lens cell are sealed, and are not designed to be further removed. The rear lens cell looks like it could be taken apart more, but I have not needed to do this. This could be attributed to cost-reduction, but I like the logical sequence in assembly.
You are responsible for your lens. You should wear gloves, and work in a clean environment.
You will need the following tools:
- Rubber lens opening tool, or lens spanner
- Philips #0 screwdriver

This is the lens. Remove the front nameplate ring using a rubber tool, or a lens spanner.
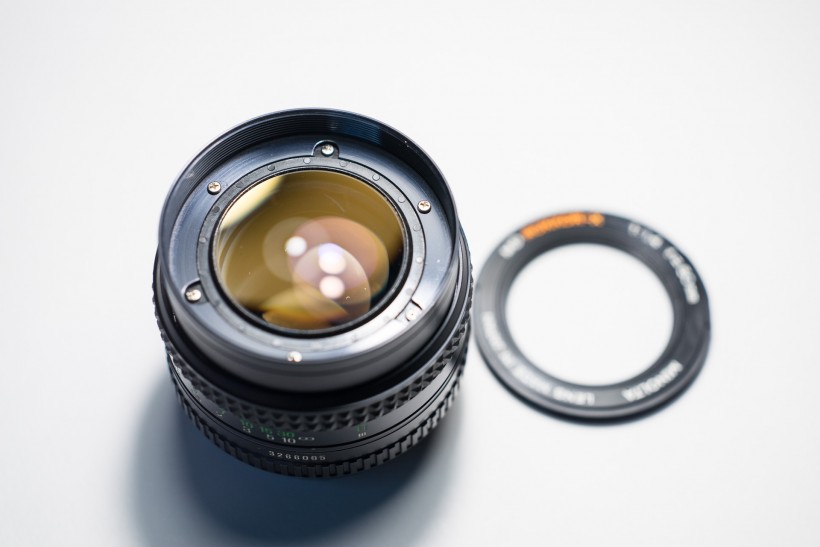
This exposes six screws. Remove the screws that are not in the triangular cutouts (in the picture, they are at 10-, 2-, and 6 o'clock). Lift the barrel out.
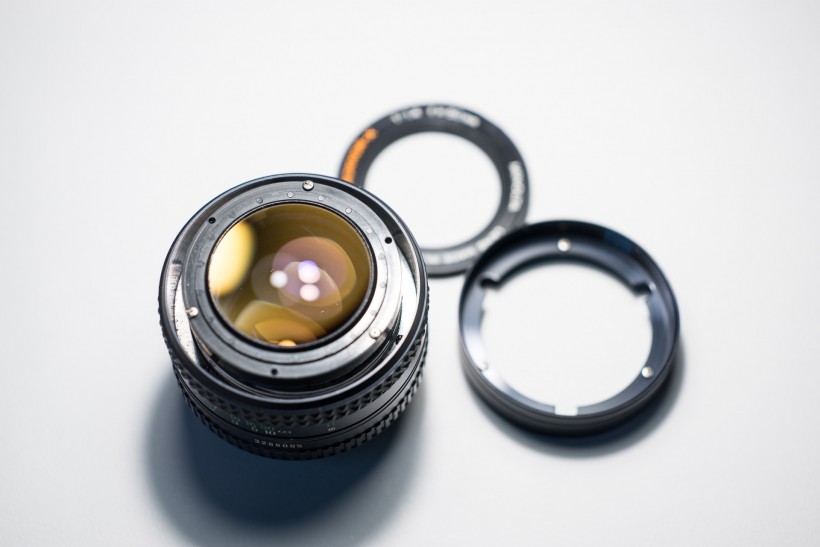
Remove the remaining three screws. This allows you to lift out the front lens cell.
Note that the screw holes for the front lens cell have a slight depression. You can lift the lens cell out, if it's stuck, tap the lens lightly to dislodge the cell.
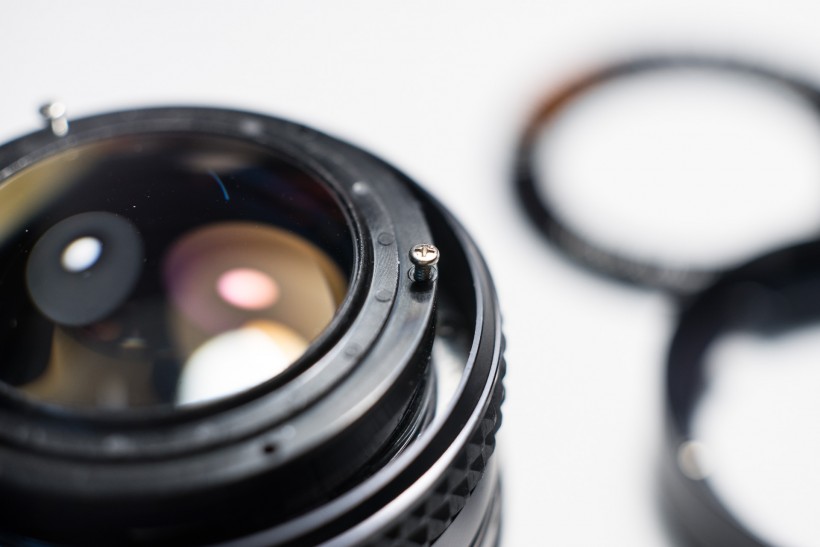
Front lens cell removed. Lens surfaces on both sides are very exposed, ensure you rest it on a suitable surface to avoid scratches.
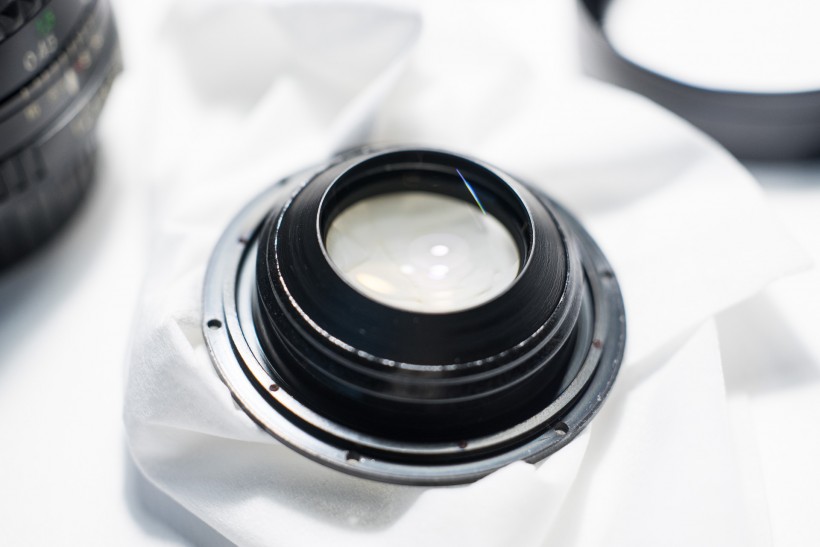
Close-up picture of the inside surface of the front lens cell. Do not attempt to further disassemble the cell.
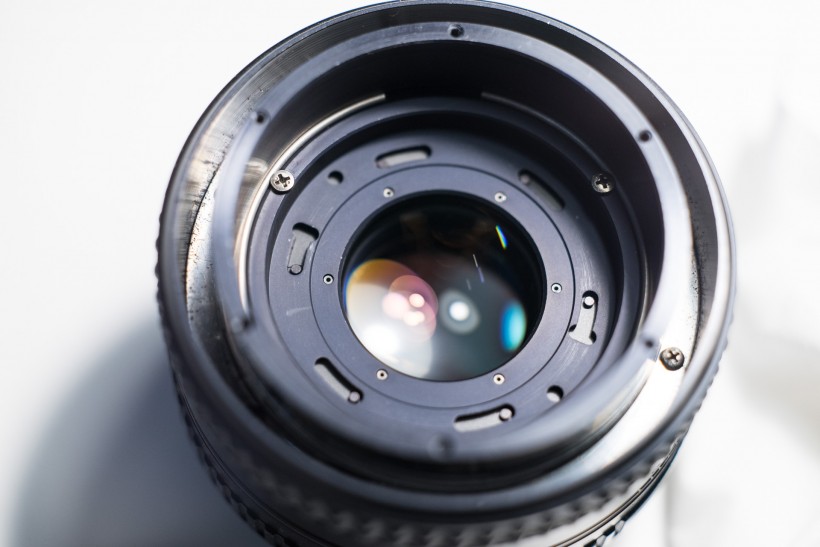
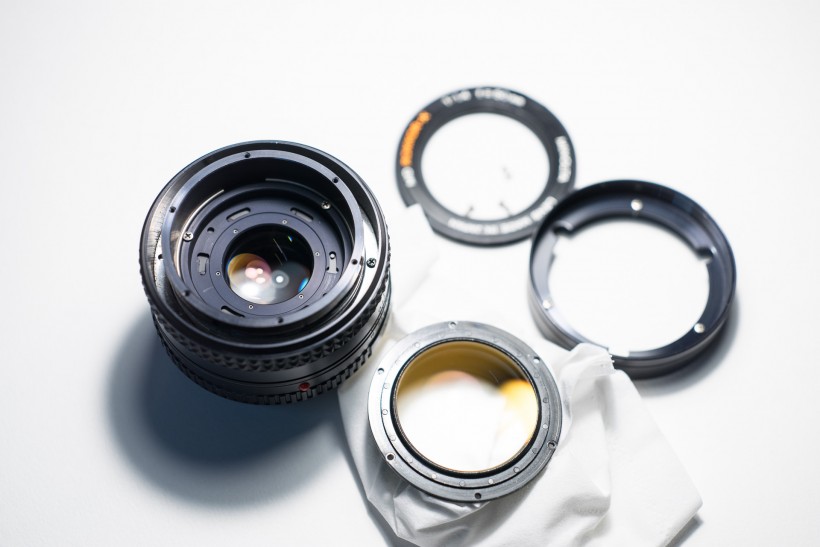
This is the aperture mechanism. You can clean the inner surface of the rear lens cell like this. However, it is easy to remove the rear lens cell for better access. I recommend reassembling the front cell first.
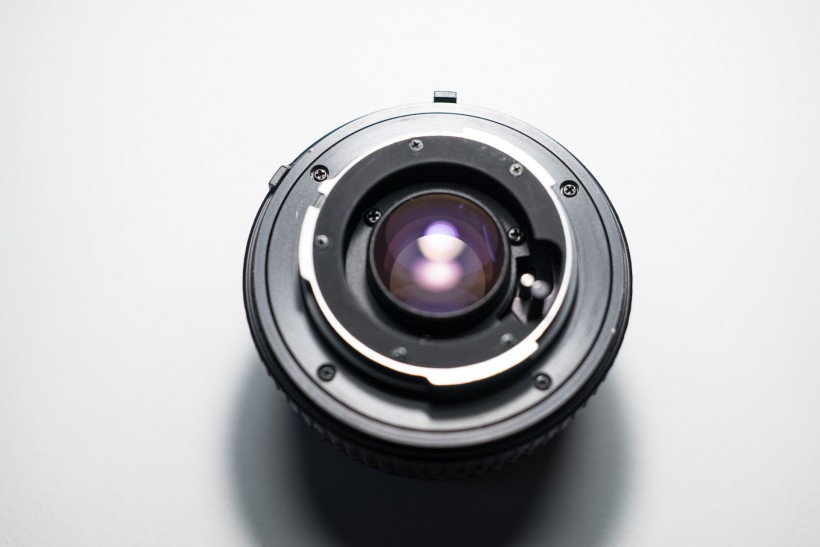
To remove the rear lens cell, start by removing the four screws holding the lens mount.
Be careful lifting out the mount. Try not to dislodge the aperture control ring as there is a ball-bearing that could fly loose.
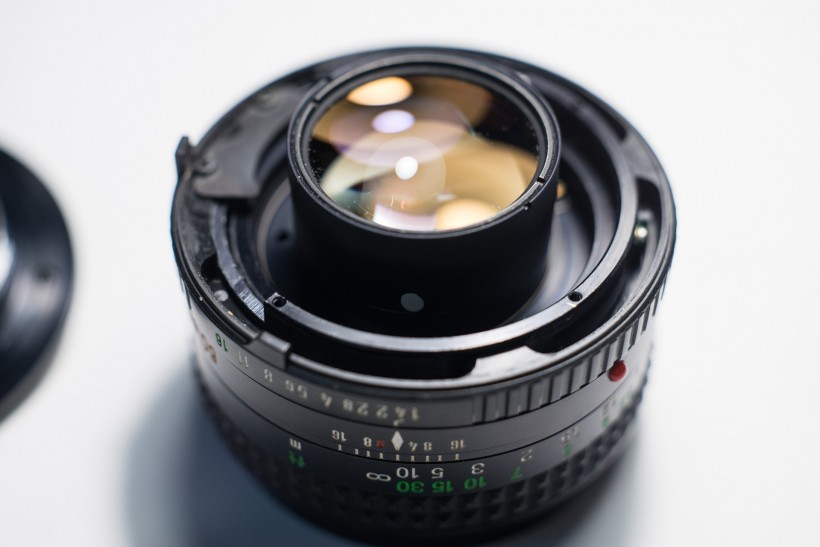
Note the white dot on the rear lens cell. Latex gloves should provide sufficient grip to unscrew the cell.
Note the spanner slots that hold the elements in place. I'm not sure if this retainer can be removed.
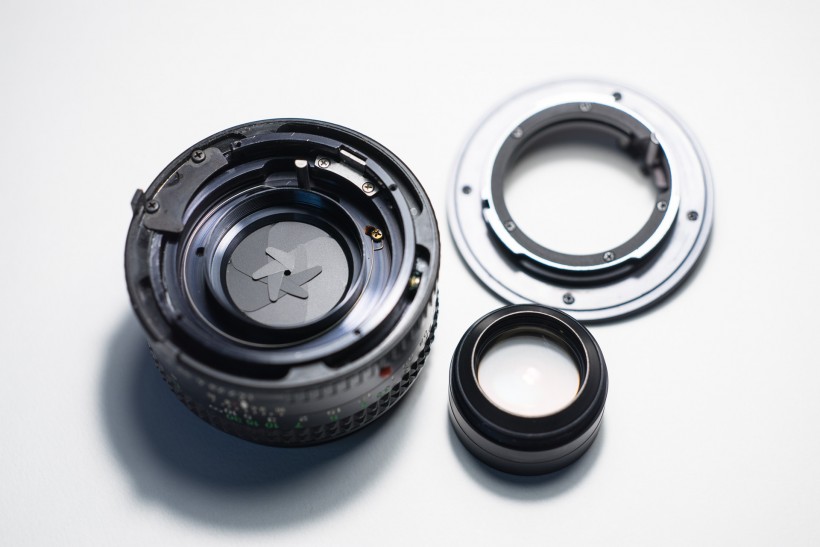
Removing the rear lens cell makes it easier to clean the inside surface. Try not to touch the aperture blades.
When reassembling the lens mount, note the position of the stop-down pin.