Repair: Minolta CLE
Tools Needed
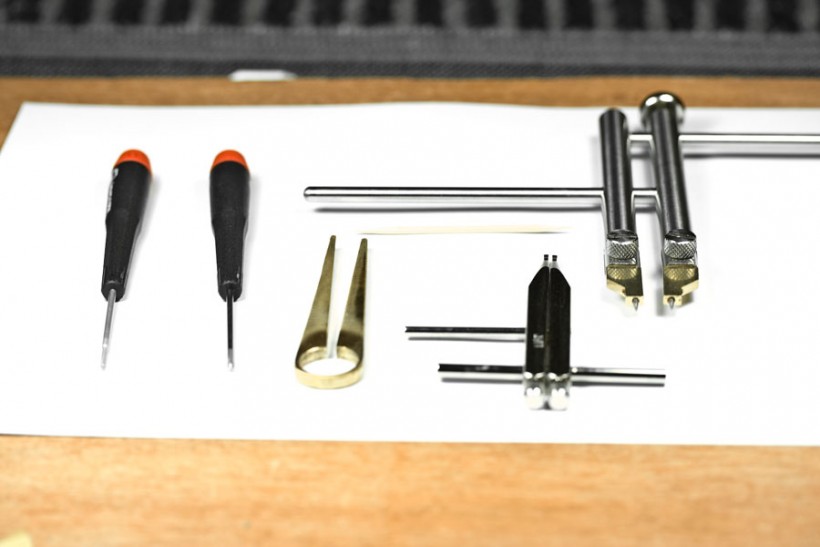
Screwdrivers (#00 and #000 Philips)
16mm flexiclamp
Spanner wrench (with flat and pointed tips)
Toothpick
Small sliver of sticky tape
Hot Shoe
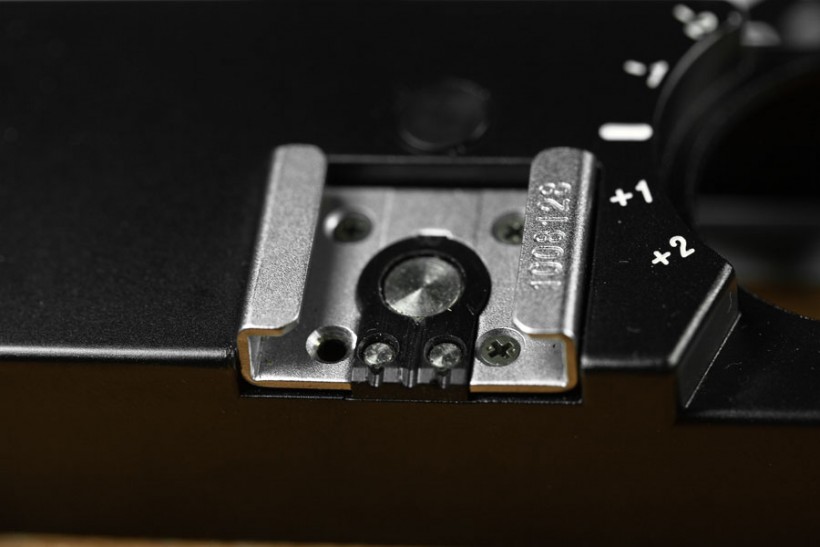
First, remove the hot-shoe cover by inserting the toothpick into the small recess near the contacts. Gently pry the cover upwards, and pull it backwards.
You will reveal 4 screws under the cover, 3 of them are dull brass, one of them shiny chrome (bottom left). Remove the chrome screw only.
Shutter Release and Speed Selector
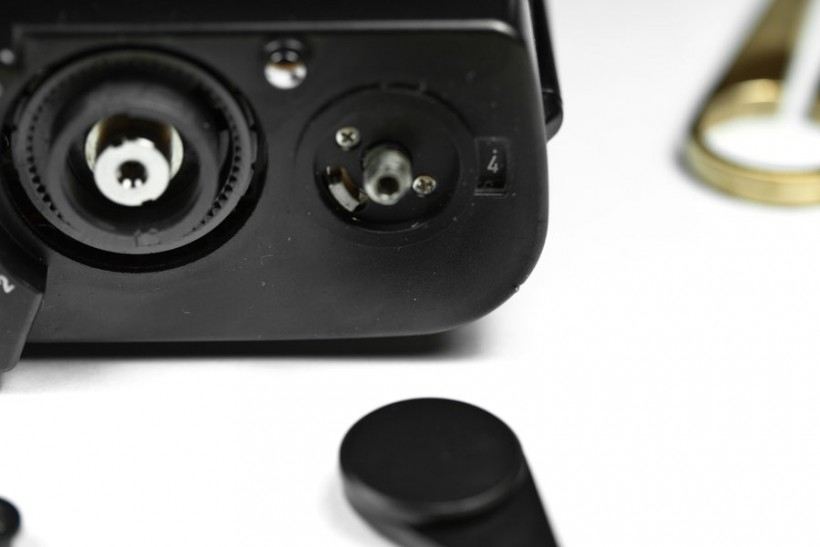
Using a spanner wrench (flat tips), remove the retaining ring around the release button. Hold the button down, as there is a spring underneath and you don't want it to jump out.
Next, pull out the whole shutter speed dial. Try to get it out as a single unit, if not you have to piece back the ISO selector, and the speed markings. That's not too hard, and you may want to clean the copper ring under the ISO selector.

Film Advance Lever
Take your 16mm flexiclamp and gently unscrew the capping screw. Turn clockwise to loosen, anti-clockwise to tighten. (UPDATE: Robert J. contacted me, informing me that this screw is reverse threaded, and I have updated my directions accordingly. I apologise for any confusion.) You will reveal a chrome retaining screw. Remove this screw with the spanner wrench. Lift off the entire lever. There are some more screws underneath so try to get them out together.
You will see a retaining piece under the lever, secured by two small screws. Remove these screws and the retainer.
Others
Remove the small screw in the lens mount, at the 12 o'clock position. Also, using the spanner wrench, remove the ring to the side of the viewfinder (for the remote release).
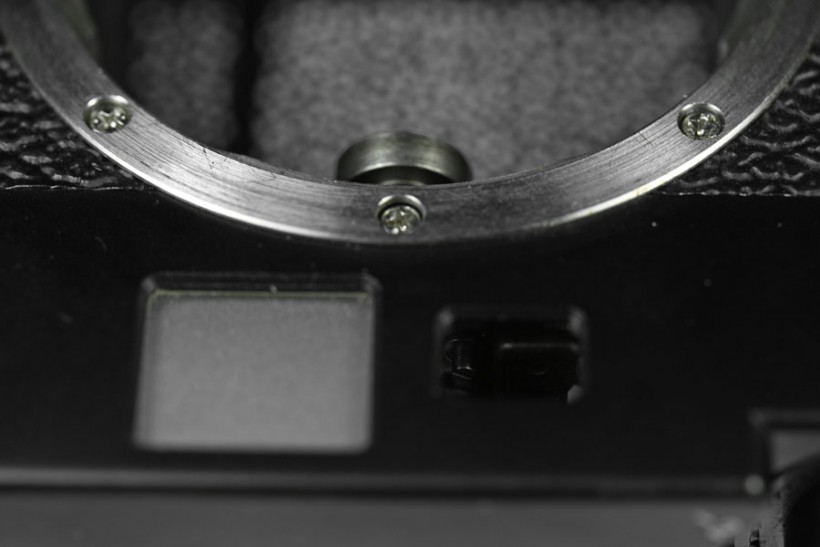
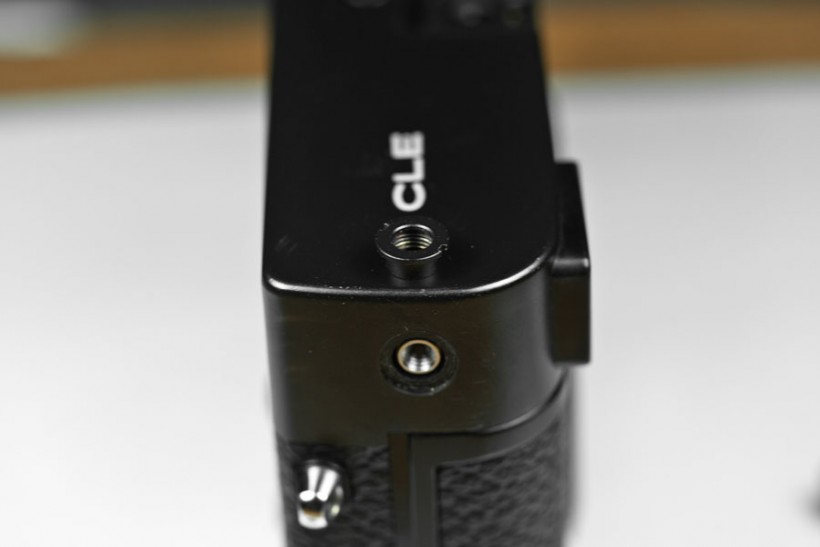
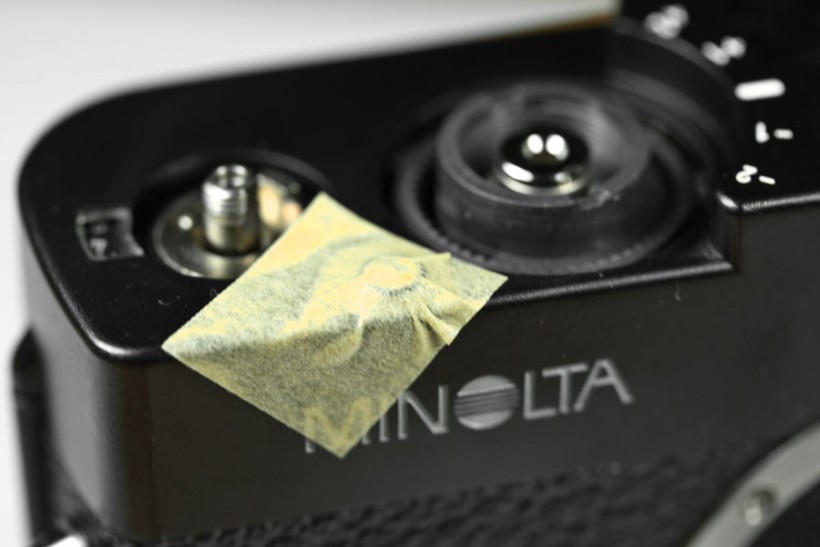
Lastly, paste a piece of tape on the silver button that locks the shutter speed dial at 'A' to prevent it from dropping out when you remove the cover.
You should now be able to slide the top cover off. Do that gently and you'll gain access to the inside. The top cover is plastic--something that I didn't know before.
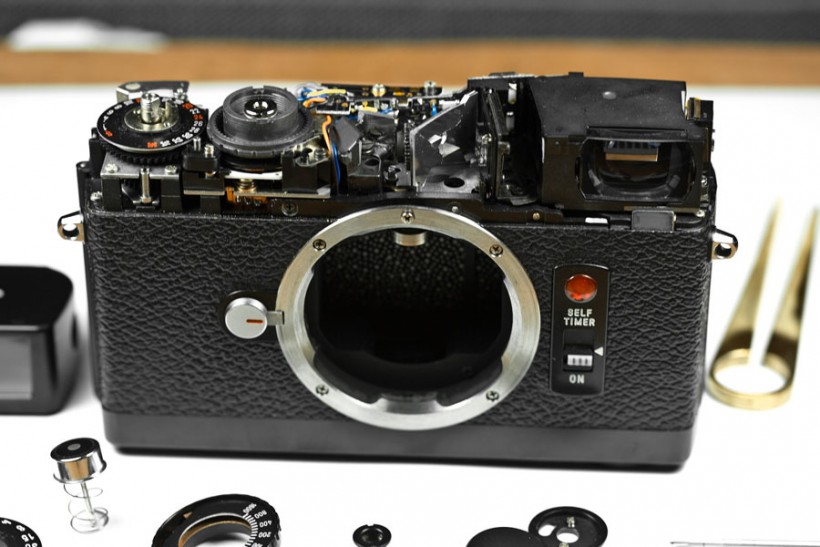

Cleaning
The cloudiness is usually on the inside glass surfaces of the top cover, so clean that with some lens cleaning fluid and a cotton swab. You might have to swab the viewfinder surfaces themselves, but do not touch the rangefinder mirror as that is front-coated and delicate.
Reassembly is simple if you've followed my steps. Just reverse the process, keeping in mind the holes in the retaining rings that should match with the appropriate protrusions.
The CLE is pretty friendly to work on. Go slowly and gently, being careful not to damage any parts, and you should be fine. If you wreck your camera, please don't blame me.